Some of My Work

Created with flickr badge.
Showing posts with label acetate. Show all posts

Tuesday, 12 January 2016

Internal Ephemeral

So this is an update on the stuff I did for my latest project over the Christmas break as I didn't have much time to blog during this time. 

After talking with one of my lecturers what I decided to do for my final piece was to make a set of swatch cards that are found when choosing colours from DIY Stores. These cards would depict my emotions over the course of 15 days through the colour of the card, and also feature a photograph of me with the colour projected onto my face. 

Photography Test 1
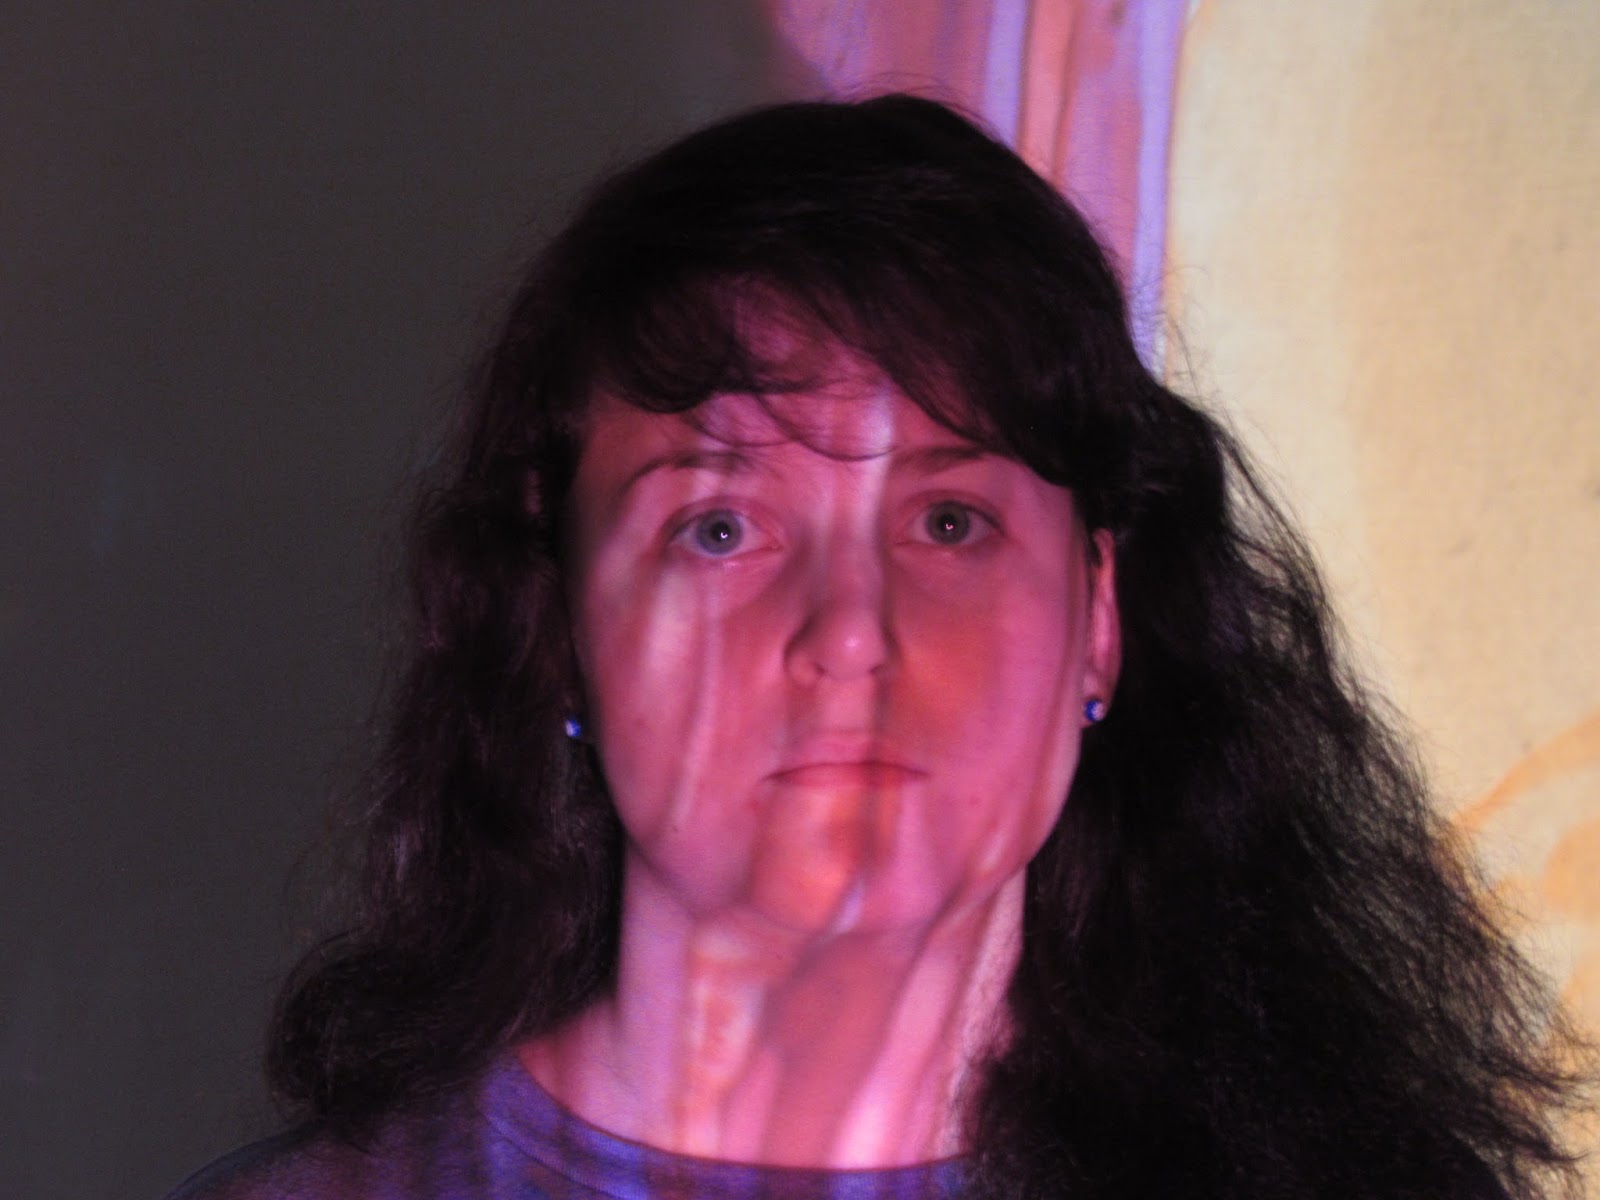


How I was going to project the colours onto my face was through using coloured pieces of acetate and an over head projector that was in the shed. 


This projected the colour well enough onto my face however I would need to make the blocks of colour bigger as in these photographs you can see the adjacent colour in the background. 


However what I discovered that was that the lines that the marker left on the sheet of acetate gave the photographs more texture and interest, rather than it just be one full plain block of colour. 

Photography Test 2


These photographs were done using the same process except this time I made the blocks of colour bigger so they took up more space when projected and I also deliberately made the lines of the marker more visible so that there was more texture in them. 


I also decided to wear a white t-shirt in the photos so that the colour would be reflected better below my neck.

I also tried adding some imagery to the photographs as one of the points I was making in this prject is that it is these emotions that make us who we are, and it makes us human. 


One of the things I tried was adding another layer of acetate on the projection screen with images drawn in black. These were sort of obscured but I still think they had a nice effect.


These ones were done by removing some of the pen ink using hand sanitiser and cotton buds to draw the designs. 


I really like the effect these gave as even though you might not necessarily be able to tell what they are, especially if I cropped the photo to fit on a card, the point and the design is still there, and there is more depth to the photo. 


Making prototypes

So my dad's shed is almost like a cave of wonders where you can can a lot of random and sometimes helpful stuff in there, an example of this is a small glass tank. My idea was to fill this tank with a bit of water and then splash ink in it to create almost the same effect as the acetate, but with a bit more movement.

I think this process worked extremely well as the effect was better than I could have imagined as it also gave the impression of mood more than the acetate did.


Making these prototypes also helped me to iron out any mistakes that I could make in the final steps for instance, I knew what inks would take more and look more intense.


Making the photos in this process also allowed me to colour the card as well to make the colour swatches, which I think adds to the process as it creates a gradient emotion and the exact colours in the photos were used in the card. The more colour I used in the projection, the stronger that emotion and therefore the more colour that would be on the card.


Final photos

So here are a few of the photos that I took to put on the cards.


Although some of them were a bit blurry purely because of how they had to be taken, I still think that they turned out really well, and were what I was hoping them to be. 

Card Examples


So my original plan was to take the photographs and then have the printed onto card almost like they would if they were real colour swatches from  real store, however I decided to go along with the ink idea as I felt that this added more to the project.


The Final 15


I image transferred the photos onto the card that i dyed after I took the photo with the in I used. I do like how these turned out as they are slightly fragile looking and imperfect which I feel also adds to it as they are meant to be a representation of me and to bring home the fact that I am huan and it is these things tat make me human.


So any way that's all I have for you just now. I am planning on doing a lot more Inspiration of the week posts to help me research for my upcoming brief which I have still to write D: so you can look forward to many of those with some updates on my work scattered in between :P

Until then
byyyyyyyeeeeeeeeeeee
Róisín -x

Monday, 23 November 2015

Chapter 6 - The Finished Piece

I really like how my finished piece turned out. It pretty much looked the way I wanted it to and I think the slides and able to be moved quite easily. I think that it also shows my theme quite clearly and it is quite easy to compare other peoples versions of the same map.


And that's that project all done and now I just need to wait on my grade D:

byyyyyyyyyeeeeeeeeee-
Róisín -x

Wednesday, 18 November 2015

Chapter 5 - The Setup

So this post is going to be about the finishing touches and the display of my box.


I was undecided on whether or not I was going to add the map that I asked everyone to fill out, but after talking to my lecturer about it, I decided it would be better if I did, as this would mean that there was still something to look at even if there weren't any slides in the box.


To attach the box to the wall I added in four mirror brackets to the back of it, two would have probably been enough, but I really wasn't up for risking it for the sake of two mirror brackets which were £1.50 for a pack of 20 out of screwfix. 


The lights were stuck around the map using strong glue and I had cut a hole out of the bottom part of the frame to leave room for the light's wire. When I first put my box up I immediately realised that I would need something to secure the wire to the wall for health and safety reasons and also to make it look more professional. The technician suggested I get trucking, which was cheap enough out of wickes, and so I cut these pieces to size and stuck them to the wall as they were self adhesive.

Tune in next time to see how the final piece looked!

bbyyyyyyyyyyyyeeeeeeeeeeeeeeeeeeeeeee
Róisín-x

Tuesday, 17 November 2015

Chapter 4 - The Slides

So my slides for my box consisted of black mounting board, black cartridge paper and a map on either acetate or tracing paper.

To make the map to give to my family to fill out, I took some screenshots of off google maps and then edited them so that map was only a black line to mark the roads. After each of my family members filled them out, I traced what they had written on either acetate or tracing paper, these were the maps that were going to go on the inside of the slides. To make them more secure and to protect the writing I laminated them.


I had tried out different methods of making the slides to see what would be the most secure and least flimsy to put on display. I found that cutting a window out of mounting board to be the most secure and suitable albeit it was the most expensive method. For the backing this didn't need to be as solid so I used black cartridge paper.


The process of making the slides was simple enough, however it was time consuming and was murder on my hands as I was having to be precise with the scalpel a lot of the time. I had took all the measurements to make sure the slide would be in the centre of the box and from this I made a template that I would follow and draw out all the slides from this rather than having to measure out all of the time. From the mounting board I cut out the shape and then the window for each of them and followed this same process for the cartridge paper.


After this was all done I found that to make the slide completely centred I would need to take off 5mm from the bottom of each of them. To do this I just used the guillotine and also used this to neaten and square off the edges.

In the next post I'll talk about the set up of my box - we're getting close to the end now :)

bbbbyyyyyyyyyyeeeeeeeeeeeeeee
Róisín -x

Tuesday, 10 November 2015

Chapter 2 - The Idea

So I had pretty much decided to go with maps for this and I then got the idea to layer maps on top of each other.


An idea I thought of doing as a way of displaying the layers of maps was making a light box. I drew a quick sketch and looked into what kind of lights that I would be able to get for my light box.


After this I made a small very basic maquette to see how my box would work. This showed me that the maps would work well in box form, but may be better on acetate to help the light travel through them. It also told me that I shouldn't have the LED light in the middle as this would mean the light would be shining directly into the viewer's eyes.


After talking with my lecturer I decided to look into how I could make my box interactive somehow, and make the layers be able to be rearranged.


It was after this I then set about making the box, which will be coming up in the next chapter :)

byyyyeeeee - 
Róisín -x