Some of My Work

Created with flickr badge.
Showing posts with label non-places. Show all posts

Saturday, 23 January 2016

Inspiration of the Week - The Situationists

So today's post is going to be slightly different as I am not looking at a specific project or artist but more looking into a theory and a movement.


The Situationists, or the The Situationist International was a European organisation who stood for social revolution, this group included artists, theorists and other intellectuals.


The reason that I am looking into this group is that they created a theory know as dérive or 'drifting' which is  part of psychogeography. This theory looks at how we explore our environment without much planning or thinking, you rather go where your mind takes you. I think that this could be an interesting aspect to add to my work as I was thinking of going out into places and leaving my 'mark' and I could use this as an inspiration on how to go about it.


In my non-place project I did look into this but didn't really do much with it as it more or less just opened the door into mapping and how people look at the places (or so-called non-places) around them.


These theories have also influenced apps called Dérive and Drift, with the latter also being available card based.


NB - all photographs here have been taken from these sites
https://libcom.org/thought/situationists-an-introduction
http://fog.ccsf.edu/~dcox/EMU/S.I.html
http://showmethewatermelon.blogspot.co.uk/2012/11/theory-of-derive.html
http://www.thepolisblog.org/2012/05/situationists-and-occupy-abai.html

I do not own any of the pictures on this post.

That's all for now, next post will be an update so stay tuned!
byyyyyyyyyyyyyyyyyeeeeeeeeeeeee
Róisín -x

Monday, 23 November 2015

Chapter 6 - The Finished Piece

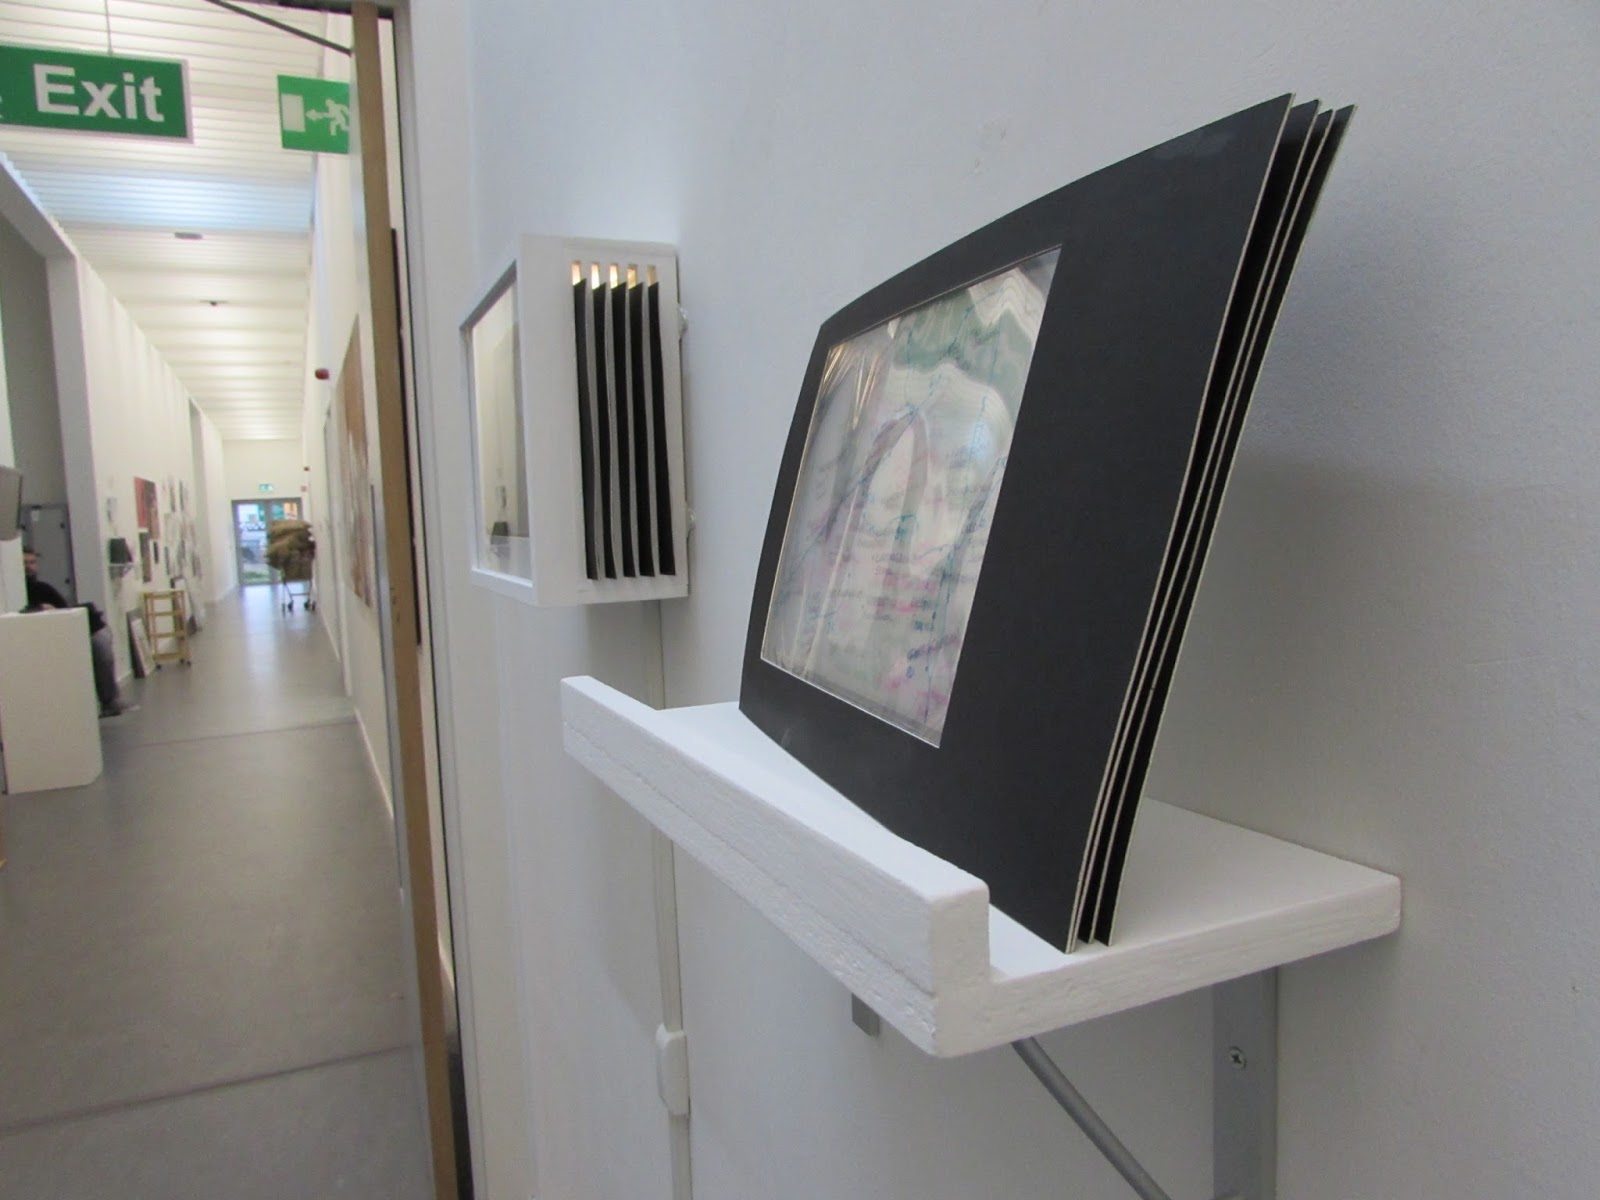
I really like how my finished piece turned out. It pretty much looked the way I wanted it to and I think the slides and able to be moved quite easily. I think that it also shows my theme quite clearly and it is quite easy to compare other peoples versions of the same map.


And that's that project all done and now I just need to wait on my grade D:

byyyyyyyyyeeeeeeeeee-
Róisín -x

Wednesday, 18 November 2015

Chapter 5 - The Setup

So this post is going to be about the finishing touches and the display of my box.


I was undecided on whether or not I was going to add the map that I asked everyone to fill out, but after talking to my lecturer about it, I decided it would be better if I did, as this would mean that there was still something to look at even if there weren't any slides in the box.


To attach the box to the wall I added in four mirror brackets to the back of it, two would have probably been enough, but I really wasn't up for risking it for the sake of two mirror brackets which were £1.50 for a pack of 20 out of screwfix. 


The lights were stuck around the map using strong glue and I had cut a hole out of the bottom part of the frame to leave room for the light's wire. When I first put my box up I immediately realised that I would need something to secure the wire to the wall for health and safety reasons and also to make it look more professional. The technician suggested I get trucking, which was cheap enough out of wickes, and so I cut these pieces to size and stuck them to the wall as they were self adhesive.

Tune in next time to see how the final piece looked!

bbyyyyyyyyyyyyeeeeeeeeeeeeeeeeeeeeeee
Róisín-x

Tuesday, 17 November 2015

Chapter 4 - The Slides

So my slides for my box consisted of black mounting board, black cartridge paper and a map on either acetate or tracing paper.

To make the map to give to my family to fill out, I took some screenshots of off google maps and then edited them so that map was only a black line to mark the roads. After each of my family members filled them out, I traced what they had written on either acetate or tracing paper, these were the maps that were going to go on the inside of the slides. To make them more secure and to protect the writing I laminated them.


I had tried out different methods of making the slides to see what would be the most secure and least flimsy to put on display. I found that cutting a window out of mounting board to be the most secure and suitable albeit it was the most expensive method. For the backing this didn't need to be as solid so I used black cartridge paper.


The process of making the slides was simple enough, however it was time consuming and was murder on my hands as I was having to be precise with the scalpel a lot of the time. I had took all the measurements to make sure the slide would be in the centre of the box and from this I made a template that I would follow and draw out all the slides from this rather than having to measure out all of the time. From the mounting board I cut out the shape and then the window for each of them and followed this same process for the cartridge paper.


After this was all done I found that to make the slide completely centred I would need to take off 5mm from the bottom of each of them. To do this I just used the guillotine and also used this to neaten and square off the edges.

In the next post I'll talk about the set up of my box - we're getting close to the end now :)

bbbbyyyyyyyyyyeeeeeeeeeeeeeee
Róisín -x

Sunday, 15 November 2015

Chapter 3 - The Box

So after my maquette didn't work I had the idea of making my piece more interactive. So I then set about the design and began to thin about how it would look.


I realised that if I wanted it to be interactive I would need to have some sort of storage for my slides to be displayed on and so tat people could easily put them back so that the slides themselves could be rearranged. I also changed my earlier design of the box so that instead of sliding the slides into the top of the box, you could slide them into the side to make them more easily accessible to more people.


For the storage for the slides I decided to go with a shelf as I thought that this would be the easiest and quickest to make. This also makes the slides displayed more openly so that the viewer can look through them and remove and put in slides more easily.


The box construction wasn't overly complicated as I used a bought photo frame from Matalan (£5) as the face of the box and added on an extension using timber that my dad had in the shed. The slots for the slides were made from dowling and gave room for 5 slides so that there was an adequate number of slides that could be viewed at the one time and the box wasn't too bulky. I also had to add a sort of floor to the bottom of the inside so that the slides were centred. 

Stay tuned for next time when I will talk about how I made the slides for the box :)
bbyyyyyeeeeee
Róisín -x


Monday, 9 November 2015

Chapter 1 - The Inspiration

So the first part of this process was the inspiration for my final piece. It began when really I didn't now what I was doing, my initial idea was to look at where teenagers hang about with friends ect. What I did was map out what I remembered my school being from memory and labelling the areas that we spent our time in.

This reminded me of an exercise I did in another class last year:


In this class we were given a map of the college and we were to change it however we wanted to. The lesson itself was inspired by the Situationist International organisation and their theory of dérive and psychgeography.


So after this I began looking at different maps and how I could make or draw them.


I also began looking for official maps that I could use or edit in some way. I found one of a non-place that I had looked at in some of my work because I was looking at where teenagers spend their time, and this is a common place in my local area for teenagers to go drinking in.


And so next came the idea - tune in next time to find out what that idea was :P

byyyyyeeeeeeee
Róisín -x

Friday, 6 November 2015

Journey coming soon

Hey so I am aware that I haven't posted in a while and you may be slightly in the dark as to where non-place went. Well fret not, I shall be posting what happened after the blog posts in a series of chapters documenting the process of my final piece. As a quick sneak peack spoiler, I went ahed and made a light box that was slightly different to my maquette, and this time it actually worked! Stay tuned for those and you will find out what my final piece turned out to be :)
I am also planning on starting up a new series of posts called "Inspiration of the Week" where I will talk about a new artist that I have discovered.

So until then
byyyyyyyyyyeeeeeeeeee
Róisín-x

Light Boxes

Since my last post I had the idea of displaying my maps in a light box. So what I did was using a display box I got from a charity shop I glued in a push controlled LED light to the inside. I placed my maps behind the glass and then secured them in place using a glass photoframe.


However this light box didn't work quite as I had planned as the light didn't diffuse properly through the layers of paper. I think even if it had worked better I might not have followed through with it as I want the layers of tracing paper to be able to be flipped over by people.

Now I am thinking of displaying it like a tourist information board with the layers of tracing paper on top that people can lift and look through.

Here are the sketchbook pages I have:


byeee -
Róisín-x

Layers

So I'm continuing on with my mapping idea for my Non-Place project.
My newest idea for this is to layer on sheets of acetate, or tracing paper to show how areas have changed meaning to me/ mean different things to other people.

What I am planning on doing right now is copying out the Carron Dams Reserve map  but with out the information like street names and points of interest etc. and then getting myself, my dad, and my brother to fill out how we feel about these areas. What I am then going to do is trace over these and then layer them over either the original map or the blank one. I am also planning on creating some sort of light box to see how the light travels through each layer revealing each persons notes.

So here's a list of the pages I have done since my last post.


I have yet to complete a couple of my ideas and therefore need to complete another couple of sketchbook pages as these ideas were sort of abandoned after I thought of this idea. The reason that these have been placed on the back burner is that I think that my map idea will work really well and will communicate what I am trying to say the best.

So see ya next time!
byeee,
Róisín -x